4 dk okuma süresi
21 Tem '23
Paylaş
Gitea self-hosted git servisi ve arayüzüdür. Gitea kullanarak projelerinizi kendi sunucunuzda barındırabilirsiniz. Bu yazıda pardus üzerine gitea kurulumu anlatılmaktadır.
Docker kurulumu
Gitea kurulumu için docker ortamı tercih edebiliriz. Bu sayede gitea ana sistemimizden bağımsız bir ortamda çalışabilir. Ayrıca isterseniz giteayı doğrudan sunucunuzda da çalıştırabilirsiniz.
Öncelikle bir docker kurulumu gerçekleştirelim.
apt update
apt install docker.io
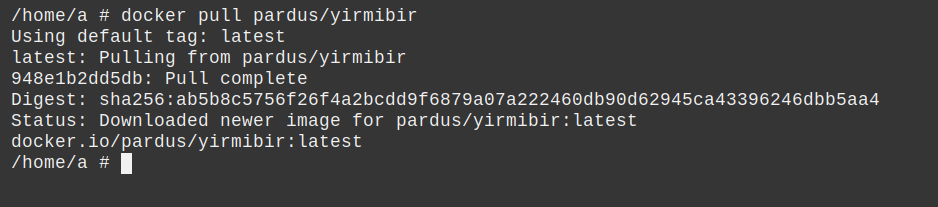
Şimdi de Pardus docker imajını çekelim.
docker pull pardus/yirmibir
Ardından docker container oluşturalım.
docker run -it --name gitea -p 3000:80 -v /gitea:/gitea pardus/yirmibir
# -p parametresi ile 3000 portunu 80 e yönlendirdik
# -v parametresi ile /gitea dizinini container içine aktardık.

Giteanın İndirilmesi
Öncelikle git ve wget paketlerini yükleyelim.
apt update
apt install git wget -y
Ssh ile git kullanmak istiyorsanız openssh-server paketini yüklemelisiniz.
apt update
apt install openssh-server -y
Docker içerisinde kullanıyorsanız servis yöneticisiz ssh servisi çalışmayacaktır. Servisi elle başlatmamız gereklidir.

https://dl.gitea.com/gitea/ adresinden güncel sürümünün size uygun olanını indirin ve /gitea dizinine kopyalayın.
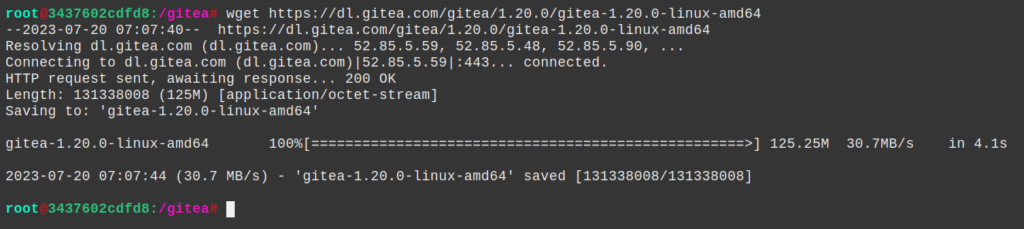
Ardından çalıştırılabilir yapalım.

Şimdi gitea için yeni bir kullanıcı oluşturalım. /gitea dizinimizin aitliğini bu kullanıcıya verelim.

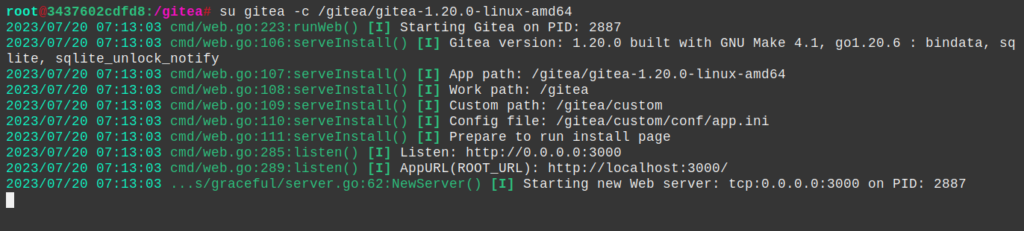
Şimdi giteayı çalıştırabiliriz.
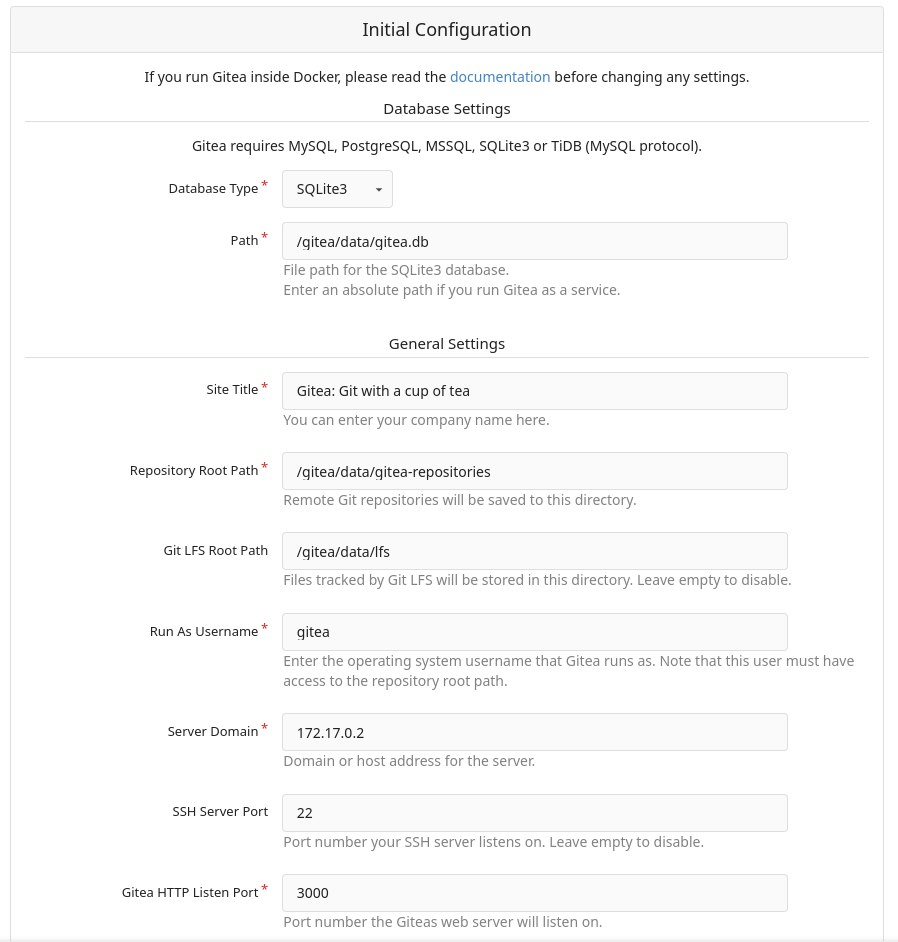
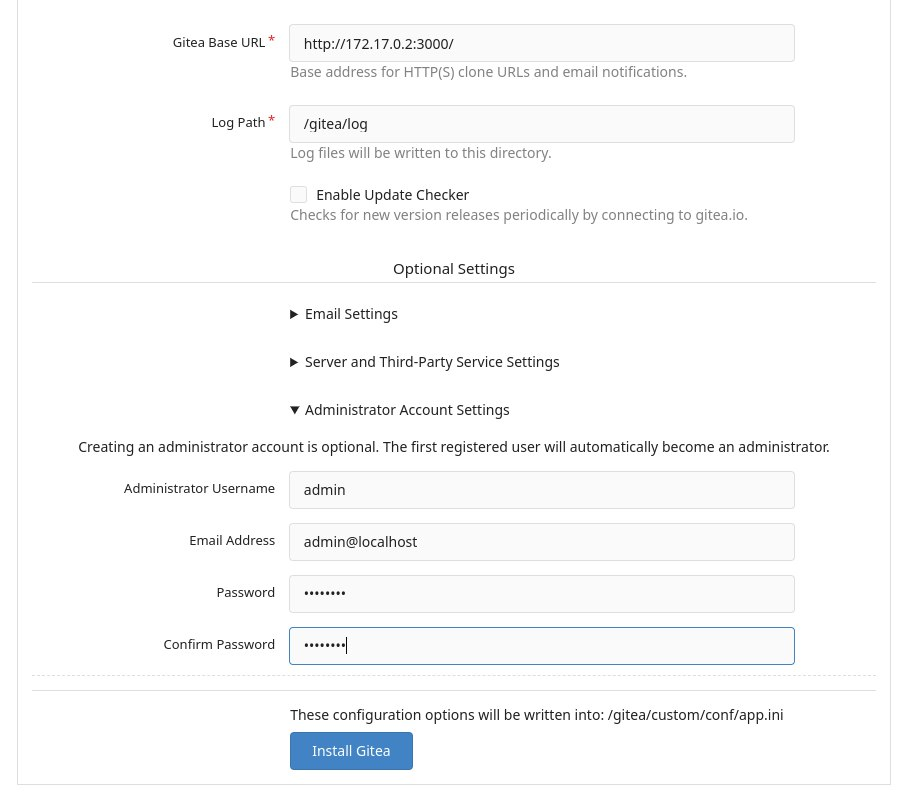
Giteanın yapılandırılması
Gitea kurduktan sonra tarayıcımızdan girip ilk kurulum yapalım.
Docker containeri siz pencereyi kapattığınızda kapanacaktır. Bunu önlemek için öncelikle containeri kapatalım ve aşağıdaki gibi tekrar çalıştıralım.
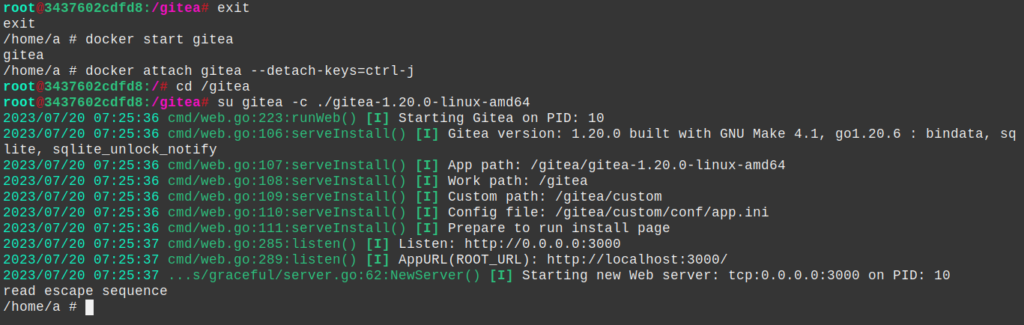
Giteanın servis olarak çalıştırılması
Eğer docker kullanmıyorsanız screen komutu ile aynı şekilde arkada çalışmasını sağlayabilirsiniz.
# oturum açalım
screen -S gitea
su gitea -c ./gitea-1.20.0-linux-amd64
# ctrl-a + d yaparak oturumu arkaya atabiliriz.
# oturumları listeleyelim
screen -ls
# oturuma girelim
screen -r xxxx
Veya bunun yerine aşağıdaki gibi bir systemd servisi yazıp çalıştırabiliriz. Aşağıdaki servis dosyasını /lib/systemd/system konumuna kaydedip sonra servisi başlatalım.
[Unit]
Description=Gitea (Git with a cup of tea)
After=syslog.target
After=network.target

[Service]
RestartSec=2s
Type=notify
User=gitea
Group=gitea
WorkingDirectory=/gitea
ExecStart=/gitea/gitea-1.20.1-linux-amd64
Restart=always

[Install]
WantedBy=multi-user.target
systemctl enable gitea.service
systemctl start gitea.service
Gitea actions ile CI kurulumu
Öncelikle custom/conf/app.ini dosyamızdan actions etkinleştirelim. Bu özellik varsayılan olarak açık gelmemektedir. Aşağıdaki ayarı dosyanın sonuna ekleyin.
[actions]
ENABLED=true
Şimdi ise https://dl.gitea.com/act_runner adresinden son sürümü ve mimarimize uygun olanı indirelim.
act_runner çalıştırmak için işlem gücü yüksek farklı bir sunucu kullanabiliriz. Gitea ile aynı makina üzerinde çalışma zorunluluğu bulunmamaktadır. Ayrıca birden fazla runner ekleyerek iş gücünü sunucular arasında dağıtabilirsiniz.
Not: Eğer act_runner uygulamasını docker içerisinde çalıştıracaksak https://docs.gitea.com/next/usage/actions/act-runner#register-the-runner-with-docker adresinden detaylı bilgi alabilirsiniz.
Gitea arayüzünden token alalım.
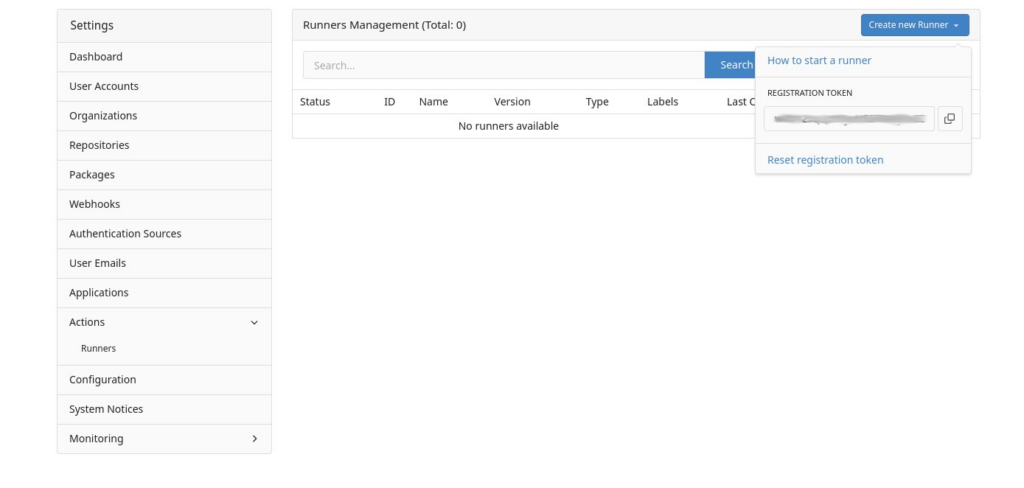
Şimdi act_runner uygulamamızda bu tokeni kullanarak register işlemi yapalım.
# instance değeri sunucunun adresi olmalıdır.
# token değeri andığımız token değeridir.
./act_runner-0.2.3-linux-amd64 register --no-interactive --instance <instance> --token <token>

Not: act_runner ayarlarını daha sonra isterseniz .runner dosyasından değiştirebilirsiniz.
Daha sonra act_runner uygulamamızı servis olarak çalıştıralım.
./act_runner-0.2.3-linux-amd64 daemon

Gitea Action Kullanımı
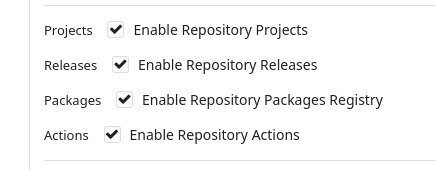
Actions kullanmak için öncelikle repo ayarlarından etkinleştirmemiz gerekmektedir.
Ardından projemiz içerisine aşağıdaki gibi bir talimat yazabiliriz.
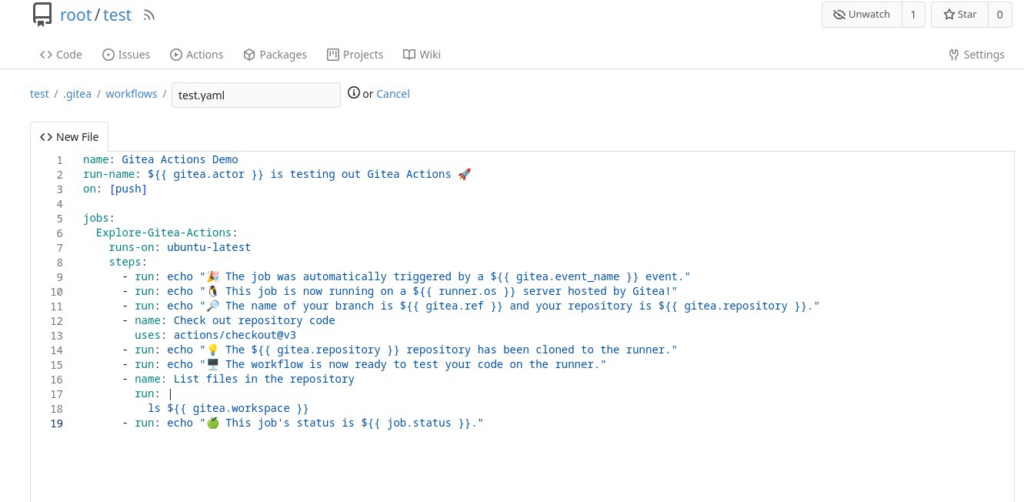
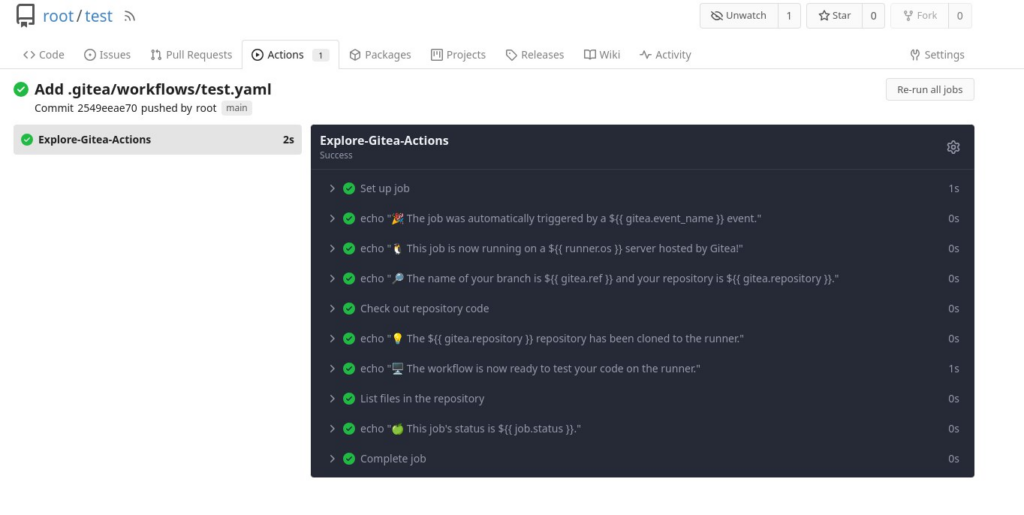
Ardından actions menüsünden çalışma durumunu görüntüleyebilirsiniz.
Kaynakça
https://docs.gitea.com/next/installation/install-from-binary
https://github.com/go-gitea/gitea/blob/main/contrib/systemd/gitea.service
https://docs.gitea.com/next/usage/actions/quickstart