Paylaş
Linux deyince aklınıza muhtemelen özgür veya açık kaynak kodlu yazılımlar gelecektir. Linux çekirdeğini kullanan dağıtımlar her ne kadar özgür yazılımlar ile yaygın olarak yüklü olarak gelse de, kimi zaman yapmak istediğimiz işi istediğimiz gibi yapacak daha basit, komut satırı gerektirmeyen bir arayüzle, bu yazımızda anlatacağımız XnConvert gibi bir araçla halletmek ihtiyacı hissedebiliriz.
XnConvert uygulaması, kökleri 1991 yılına dayanan çok eski bir toplu resim işleme uygulaması. Windows ve Mac OS’un yanı sıra Linux sürümü de bulunmaktadır. Firmanın geliştirdiği çok fazla resim işleme programı olup, merak edenler sitelerine göz atıp, test edebilirler.
XnConvert uygulamasına neden ihtiyaç duydum?
10 yıldır yayında olan ve çeşitli defalar çok farklı resim boyutlarıyla çalışmış ve artık tutarsız hale gelen 5.000’den fazla görseli sitede kullandığımız yeni görsel boyutuna uydurmam gerekiyordu. İlaveten site üstünde güncelleme yapmıştık ve resimlerin eski (çoğunlukla JPG olan) sürümlerinin yanında yine aynı ismi kullanan WEBP biçiminde kopyalarının da üretilmesi gerekiyordu. “Bu iki işlemi en kolay nasıl yaparım?” diye internette ararken XnConvert yazılımıyla karşılaştım.
XnConvert lisansı hakkında ön açıklama
XnConvert son kullanıcının kullanımı için ücret talep etmiyor. Ticari amaç güden kurumsal kullanıcılardan ise yazılımın gelişimine az da olsa maddi olarak katkıda bulunmalarını talep ediyor. Lisansını Freeware olarak kabul edebilirsiniz.
XnConvert nasıl kurulur?
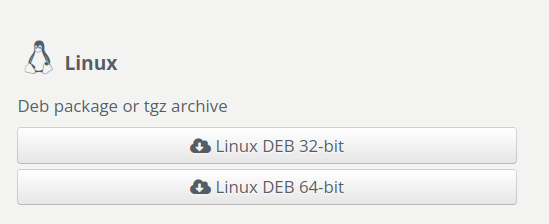
XnConvert sahipli/lisanslı bir ürün olduğu için Linux dağıtımlarının depolarında genel olarak yer almıyor. Flatpak için bir sürümü Flathub üstünde görülmekle birlikte güncel sürüm olmadığı için gözardı etmeyi tercih ediyorum. Yazılımın kendi sitesinde ise (https://www.xnview.com/en/xnconvert/#downloads) adresinden yazılımın Debian ve türevi dağıtımlar için paketlenmiş .deb paketine erişmek mümkün. Çoğu Linux dağıtımının 64 bit sürüm kullandığından yola çıkarak 64 bit sürümünü seçmeniz gerekecektir.
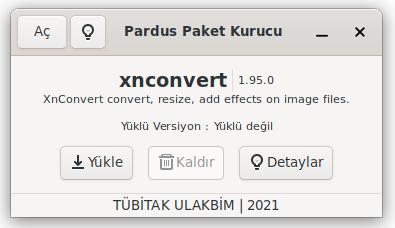
Güncel sürüm şimdilik 21.7 MB boyutunda görünmektedir. Dosyayı indirdikten sonra paketin üstüne tıklamanız yeterli olacaktır. Paketin üstüne tıklayınca kurulum sayfası açılacaktır. Yükle deyip paketi kurabiliriz.
XnConvert ile resim boyutu değiştirme
Pek çok sebeple resimlerin boyutunu değiştirmek ihtiyacı hissetmiş olabiliriz. Resimler genelde daha küçük boyutlara uyarlanır. Tersi de mümkün olmakla birlikte büyütülen resimlerde kalite kaybı (SVG türevi vektör grafikler hariç) yaygın bir sorundur.
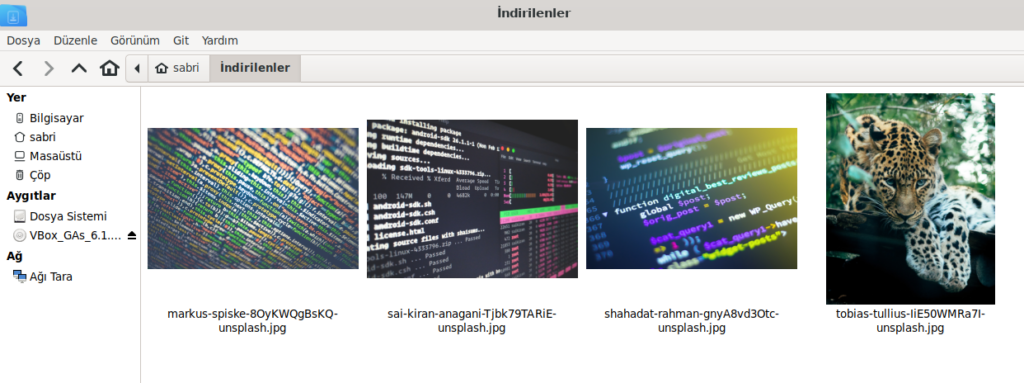
Resimler üstünde işlem yapmak istiyoruz, lakin yeni kurulmuş sanal makinemizde hiçbir resim bulunmuyor. Hemen internetten birkaç resim indiriyoruz. Bilgisayarınızdaki kişisel resimlerinizi de elbette kullanabilirsiniz, lakin ben örnek olması için ücretsiz bir siteden (https://unsplash.com) rastgele birkaç resim indiriyorum.
XnConvert uygulaması kuruldu ve menü altındaki Grafikler altındaki yerini aldı. Artık uygulamayı çalıştırabiliriz.
İşletim sistemi olarak Türkçe kullanıyorsanız program bunu otomatik olarak algılayacak ve muhtemelen Türkçe olarak açılacaktır. XnConvert birkaç çeviri eksiğine rağmen genelde yeterli bir Türkçe desteğiyle geliyor.
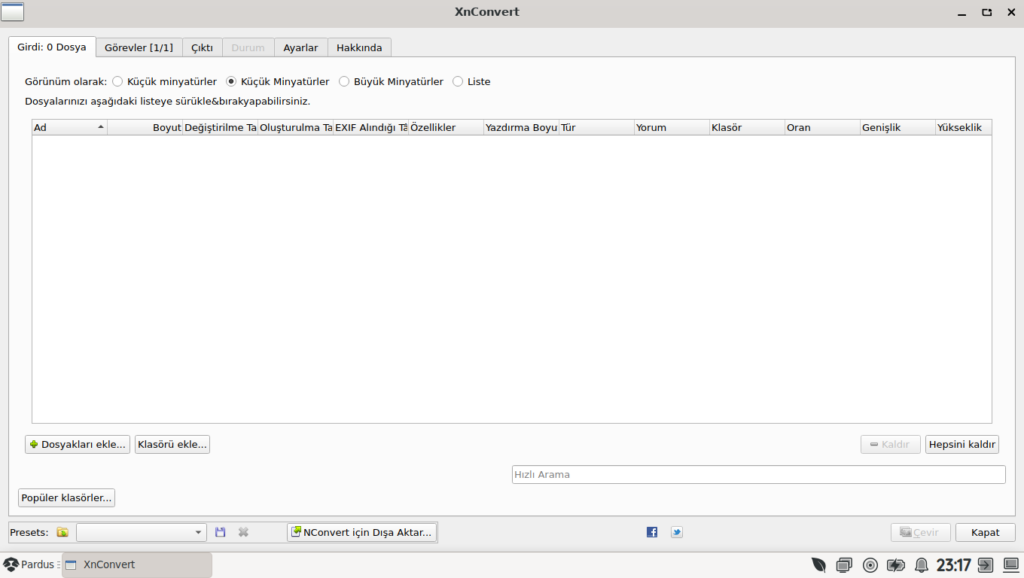
İlk önce Girdi ekranının sol altındaki iki düğme dikkatimizi çekiyor. Bunların birincisi dosya ekleme, ikincisi klasör ekleme düğmesi. Yapacağımız işleme göre seçim yapıyor ve üstünde işlem yapmak istediğimiz resimleri seçiyoruz. Daha detaylı bilgi almak için ben üstteki görünüm tiplerinden liste görünümünü seçiyorum.
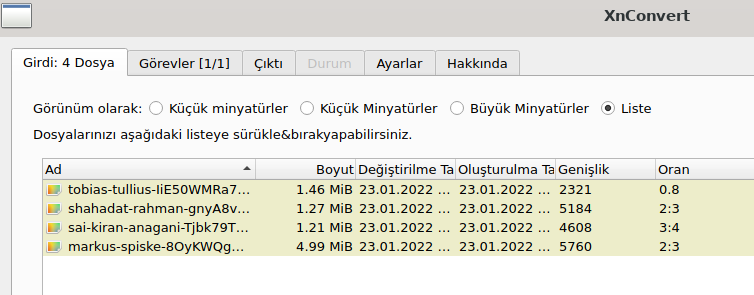
Elimizde biçimi/formatı, uzantısı, genişliği, boyutu birbirinden farklı bir resim grubu var.
Görevler sekmesine geçiş yapıyoruz. Buradan pek çok görevi seçilen resimler üstüne uygulanmasını seçebiliriz.
Örneğin resmi önce boyutlandırıp, ardından filigran ekleme görevini peşinden uygulayabiliriz. Veya resimlere kimi açıklama yazıları ekleyebiliriz.
Çok yaygın olması sebebiyle resim boyutlandırma işlemini yapmaya karar veriyorum. Görev Ekle düğmesine tıklıyorum. Açılan küçük pencereden Resim ve ardından Yeniden Boyutlandır’ı seçiyorum.
Program bize sol panelde çeşitli hazır seçenekler ve bu seçeneklere bağlı tercihle sunuyor. Tercihleri ihtiyacımıza göre özelleştiriyoruz. Ben, ekran görüntüsündeki ayarları kullanmayı seçiyorum.
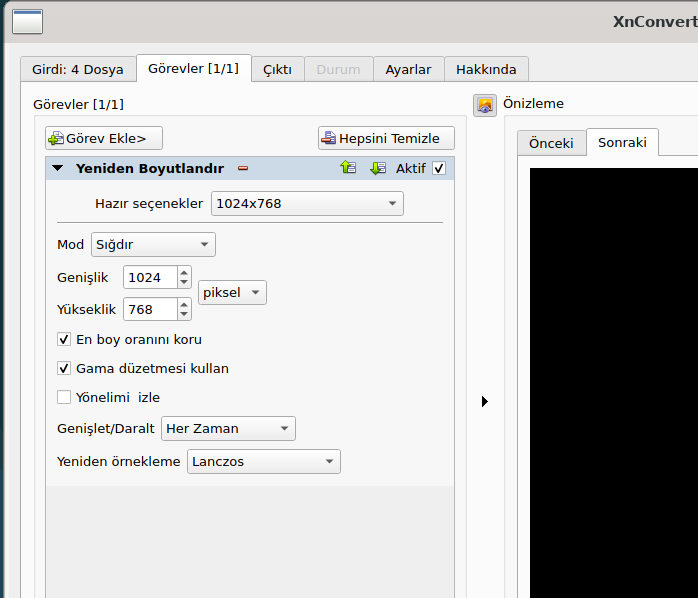
Program bize sağ panelde resmin önceki ve sonraki hallerinin ön izlemelerini sunuyor. Kimi durumlarda faydalı olabilecek bir özellik.
Yığın (batch) dönüştürme
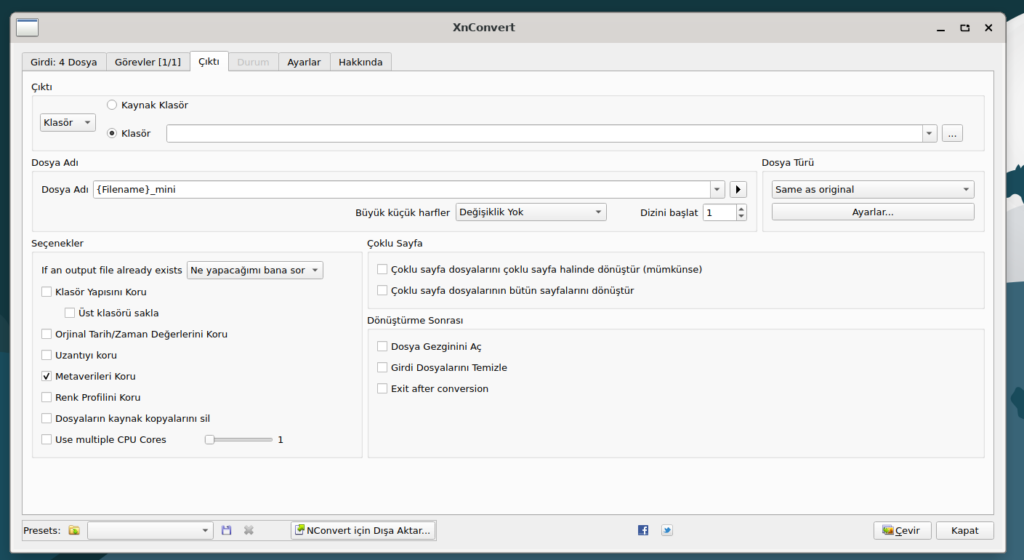
Çıktı sekmesine geçiyoruz.
Burada çıktı dosyası ile ilgili çeşitli gerekli seçenekler bulunuyor. Mesela yeni dosyanın adı ne olacak seçebiliyoruz veya hedef klasörü kaynak klasörden farklı seçebiliyoruz. Aynı isimde dosya varsa ne yapılması gerektiği gibi ve daha pek çok seçeneği bu sekmeden yönetebiliyoruz. Ben şahsen dosyaları karşılaştırması kolay olsun diye kaynak klasöre yazmayı tercih ediyorum.
Pek çok seçeneği düzenlediğimize göre artık işlemi yapmaya hazırız. Uygulamanın sağ alt köşesindeki çevir düğmesine tıklıyoruz ve çevirim işlemi başlıyor. Bu aşamada Durum sekmesi de etkinleşiyor ve işlemler hakkında bize bilgi veriyor.
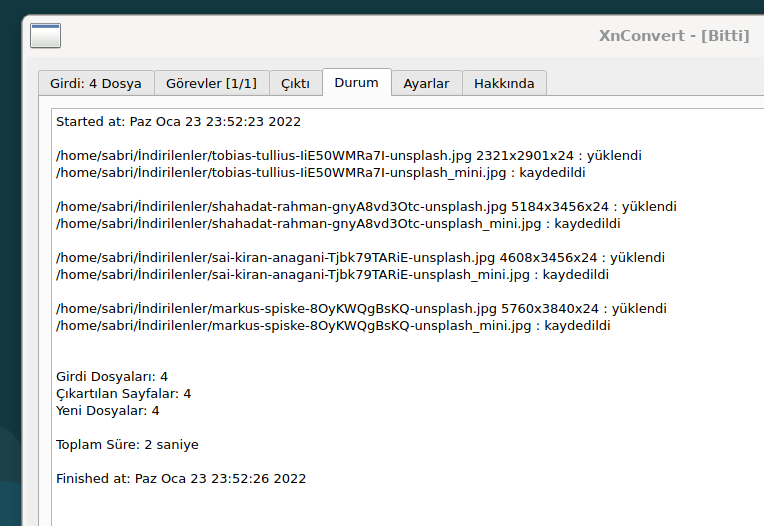
Sonuçları ve farklı incelemek için artık kaynak dizinimize gidebiliriz.
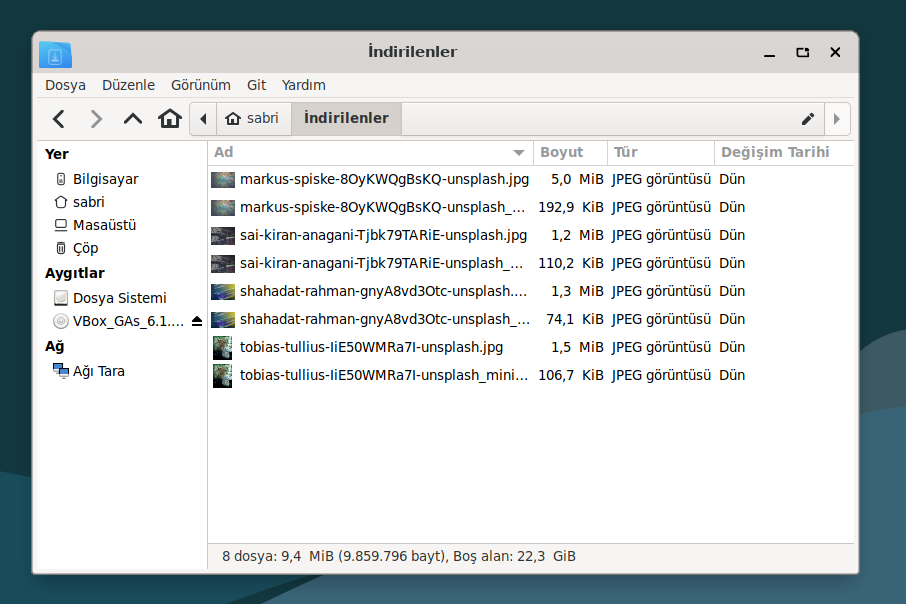
Sonuç inanılmaz. 5 MB olan özgün dosyamız yeni haliyle 192 KB’a düşmüş. Aynı şekilde diğer dosyaların da yeni boyutları neredeyse tek e-posta ekine sığacak kadar düşük.
Sonsöz
XnConvert kendi sitesindeki bilgilere göre 80 farklı görevi yerine getirebiliyor. 500 resim biçimini okuyup, bunları 70 farklı dosya biçiminde dışarı aktarabiliyor. Tüm yeteneklerini keşfetmek maalesef birkaç yazı ile başarılabilecek bir durum değil. Deneme yanılma yöntemiyle işinize yarayacak özelliği keşfetmek size kalıyor.
Etiketler:

Benzer Yazılar
İlginizi Çekebilir
Öğretmenin Yeni Yardımcısı: ETAP’ta Veyon ile Sınıf Yönetimi
Uygulama Tanıtım
15 Nis '25Remmina: Linux’ta Güvenli ve Hızlı Uzak Masaüstü Deneyimi!
Uygulama Tanıtım
18 Mar '25Vektörel Grafik Dünyasına Giriş: Inkscape ile Tanışın
Uygulama Tanıtım
7 Mar '25PDF Arranger: PDF Birleştirme, Bölme ve Düzenleme İşlemleriniz İçin İdeal Çözüm
Uygulama Tanıtım
27 Şub '25