Paylaş
.NET Core, Microsoft tarafından geliştirilen bir yazılımdır. Platformlar arası bir yazılım geliştirme platformudur. Masaüstü, web, mobil ve bulut uygulamaları dahil olmak üzere çeşitli uygulamalar oluşturmak için kullanılmaktadır.
.NET Core’un avantajlı tarafları vardır. Ücretsiz olarak kullanılabilmesi ve çeşitli işletim sistemleri üzerinde çalışma desteği vardır. C#, Visual Basic ve C++ gibi programlama dillerini desteklemektedir. .NET Core platformu ile birlikte ise istediğiniz alana ait uygulamalar geliştirebilirsiniz. Sırası ile web teknolojileri, mobil uygulama ve oyunlar, veri tabanı ve bulut uygulamaları geliştirebilirsiniz.
Önemli Bilgi
Kullandığınız Pardus işletim sisteminin desteklediği Debian sürümüne göre yükleme yapmanız gerekmektedir. Ayrıntılı bilgi için belirtilen linke tıklayınız.
https://learn.microsoft.com/tr-tr/dotnet/core/install/linux-debian
Bu yazıda kullanılan işletim sistemi Pardus 23 sürümüdür ve Debian 12 desteğine sahiptir. Bundan sonraki adımlar bu sürüm için gerçekleştirilecektir.
Kurulum
İlk olarak aşağıdaki komutları çalıştırınız. Bu adımda ilgili paket deposu eklenecektir.
wget https://packages.microsoft.com/config/debian/12/packages-microsoft-prod.deb -O packages-microsoft-prod.deb
sudo dpkg -i packages-microsoft-prod.deb
rm packages-microsoft-prod.deb
Bu adımdan sonra .NET SDK kurulumu yapılacaktır. Bunun için aşağıdaki komutları çalıştırınız. Ayrıca .NET SDK ile .NET Core uygulamaları geliştirebilirsiniz.
sudo apt-get update && \
sudo apt-get install -y dotnet-sdk-7.0
Önemli Bilgi
.NET SDK içinde ASP.NET Core Runtime yüklü olarak gelmektedir. Eğer öze olarak, çalışma zamanı ile ilgili kurulumları yapmak istiyorsanız aşağıdaki adımları takip edebilirsiniz.
sudo apt-get update && \
sudo apt-get install -y aspnetcore-runtime-7.0
Bu adımlardan sonra .NET Core kurulumu tamamlanmıştır. Şimdi ise ilk uygulamamızı oluşturup çalıştıracağız.
İlk Uygulama Yapımı
Bu adımda ise C# programlama dili kullanılacaktır. İlk olarak bir geliştirme ortamı oluşturmalısınız. .NET Core ile ilgili ortamı oluşturmak için aşağıdaki komutları çalıştırınız. Bu adımda bir konsol uygulaması teması kullandık ve oluşan klasörün içine giriş yaptık. Oluşturduğumuz çalışma alanının ismini ise “Deneme” olarak belirledik, siz isteğe bağlı olarak değiştirebilirsiniz.
dotnet new console -n Deneme
cd Deneme
İlgili klasör içinde ön tanımlı olarak Program.cs isimli bir dosya vardır. Bu dosyayı açınız örnek olarak karşınıza aşağıdaki satırlar gelecektir. İsteğe bağlı olarak siz buraya istediğiniz C# komutlarını ekleyebilirsiniz.
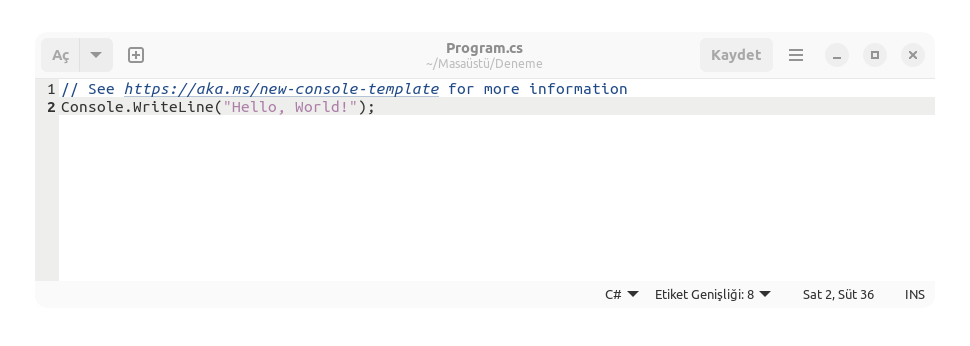
İsteğe bağlı olarak tüm satırları siliniz ve aşağıdaki C# kodunu yapıştırınız ve dosyayı kapatınız.
Console.WriteLine("Merhaba Pardus 23!");
Şimdi ise uygulamamızı çalıştırabiliriz. Bunun için aşağıdaki komutu terminal üzerinde çalıştırınız.
dotnet run
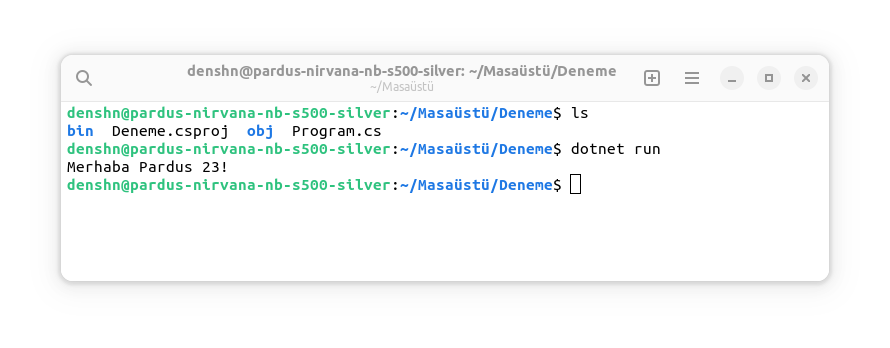
Bu yazımızda başarılı bir .NET Core kurulumu yaptık ve ilk uygulamamızı oluşturup çalıştırdık.